Decorating a house is fun, but a lot of work and can be expensive. I usually focus on just one room at a time. The living room and dining room are pretty much done. I do need curtains for both, but I haven't found any that have wow'ed me yet. Curtains really do pull a room together, but when panels are only sold one to a package it can get pretty pricey.
Here are some additions I have made recently:
Bedside rug found at Marshalls:
Curtain print found at World Market:
New nightstand found at Trash and Class on Rt 1 in Ashland, Va and new rug found at Marshalls:
Showing posts with label hobbies. Show all posts
Sunday, January 16, 2011
Friday, December 10, 2010
Snowmen Ornaments
I used old Christmas light bulbs that were broken. I made these for an ornament swap party I was attending. You will need:
-Light bulbs
-Unused egg crate for drying
-White, black, and orange paint
-Snow accent paint
-1 wide tipped paint brush and 1 fine tipped paint brush
-Black, red, and green felt
-Scissors
-Craft glue or hot glue
-Hemp string
Flip the egg crate over and poke a hole where the eggs would be. Paint the light bulbs white. I used white bulbs so I only did one coat. If colored then may need more than one coat. Let it dry and then paint the snow accent on top. Let dry in the egg crate. Paint black dots for eyes, nose, and buttons. Paint an orange carrot nose. Let dry. Cut thin strips of green and red felt. You want to measure the strip of felt by wrapping it around the light bulb to make a scarf. Cut the excess off. Apply glue to felt and then attach to the light bulb. Let dry before making the hat. Cut a small black square. I did not measure. I eyeballed a good size for the brim of the hat and then made them all that size. Fold the square in half and cut a small slit. Fold the square the other way and cut another small slit. It will create an 'x'. Fit this over the top of the light bulb. Cut the square into a circle for the brim of the hat. Cut a small strip of black felt that will cover the rest of the bulb. Wrap around the bulb to make sure it fits. Apply glue and attach. Cut a long piece of hemp string and tie around top of hat. Create a knot in the back of the hat with the string. Tie ends to make loop.
Have fun!
-Light bulbs
-Unused egg crate for drying
-White, black, and orange paint
-Snow accent paint
-1 wide tipped paint brush and 1 fine tipped paint brush
-Black, red, and green felt
-Scissors
-Craft glue or hot glue
-Hemp string
Flip the egg crate over and poke a hole where the eggs would be. Paint the light bulbs white. I used white bulbs so I only did one coat. If colored then may need more than one coat. Let it dry and then paint the snow accent on top. Let dry in the egg crate. Paint black dots for eyes, nose, and buttons. Paint an orange carrot nose. Let dry. Cut thin strips of green and red felt. You want to measure the strip of felt by wrapping it around the light bulb to make a scarf. Cut the excess off. Apply glue to felt and then attach to the light bulb. Let dry before making the hat. Cut a small black square. I did not measure. I eyeballed a good size for the brim of the hat and then made them all that size. Fold the square in half and cut a small slit. Fold the square the other way and cut another small slit. It will create an 'x'. Fit this over the top of the light bulb. Cut the square into a circle for the brim of the hat. Cut a small strip of black felt that will cover the rest of the bulb. Wrap around the bulb to make sure it fits. Apply glue and attach. Cut a long piece of hemp string and tie around top of hat. Create a knot in the back of the hat with the string. Tie ends to make loop.
Have fun!
Sunday, November 14, 2010
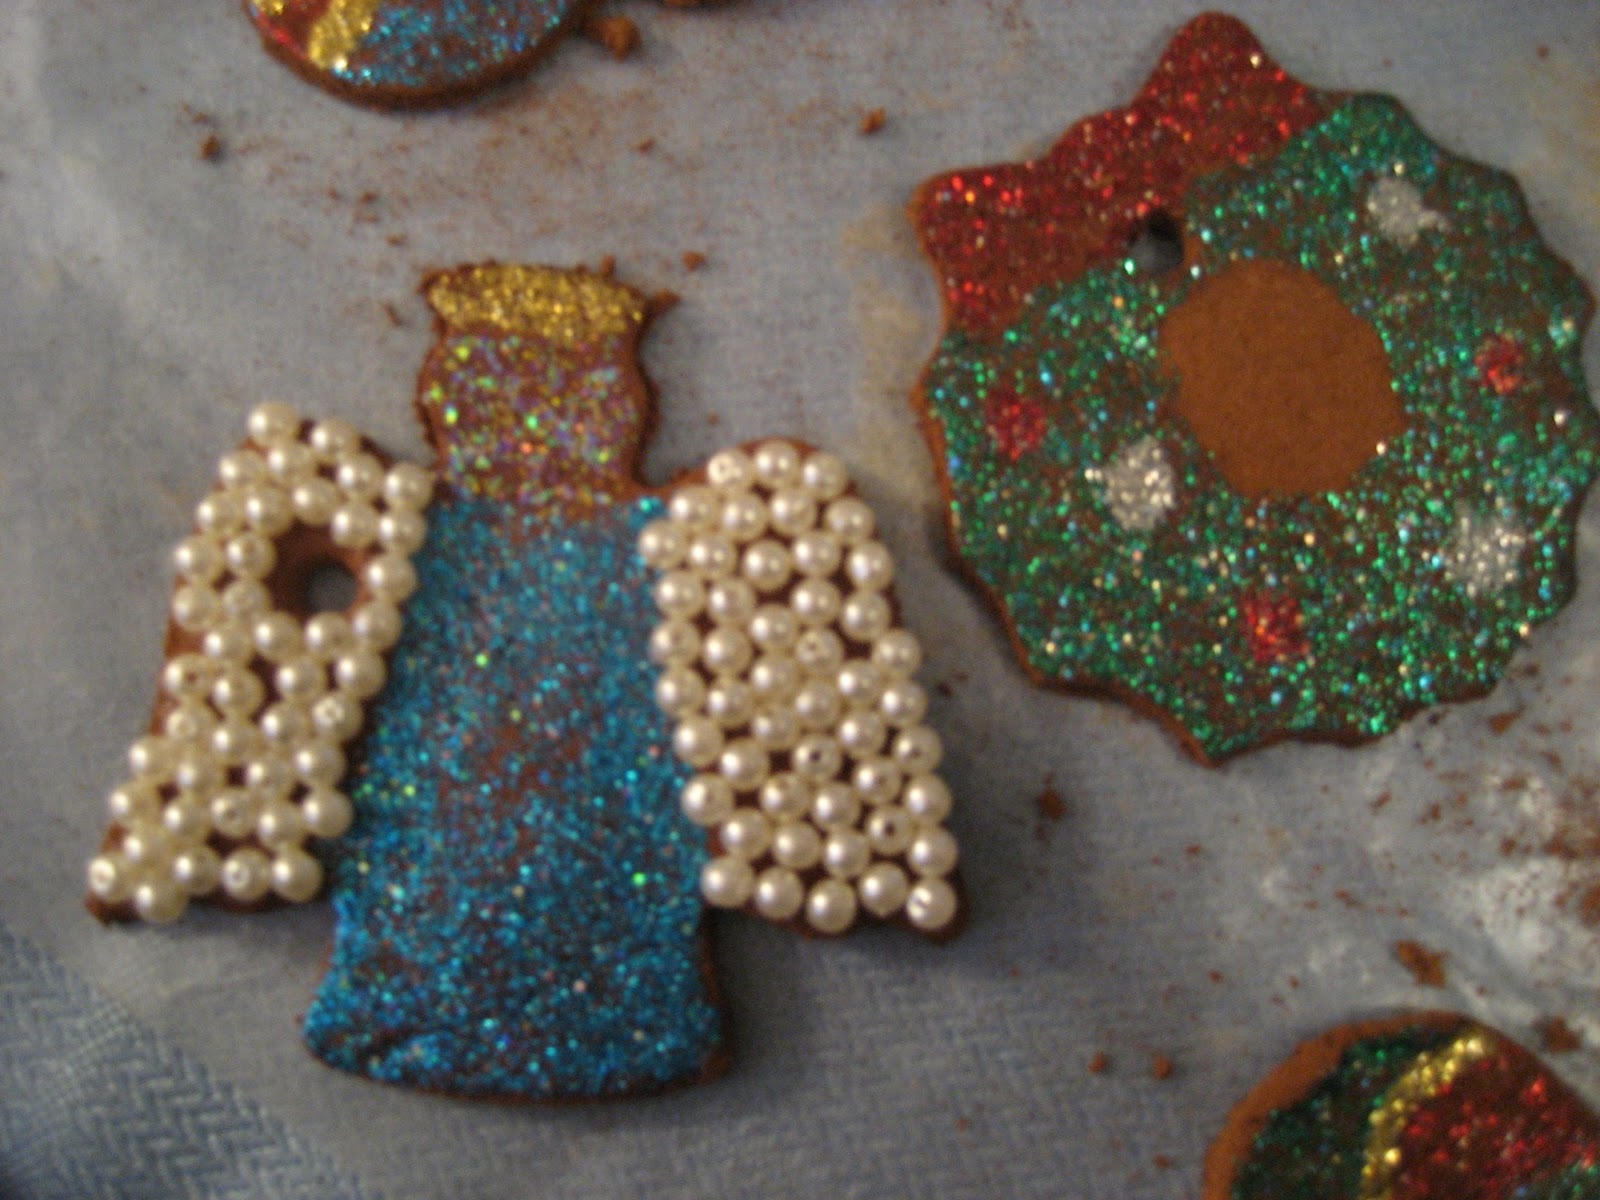
Apple Cinnamon Ornaments
YOU CANNOT EAT THESE! Also, this is what we started with, but added to the dough so no true measurements for this. We started with this (approximately):
1 cup cinnamon
1/2 to 3/4 cup applesauce
1 tablespoon craft glue (that dries clear)
Christmas cookie cutters
1 drinking straw
Combine in bowl to make a dough. Depending on the doughs wetness or dryness you will need to add either more cinnamon or more applesauce. Dust table with cinnamon and roll out dough with rolling pin. Place cookie cutters on dough and press firmly. Roll out remaining dough and place cookie cutters on top. Repeat until dough is gone. We did this recipe three times to get a higher yield of ornaments. By the second time we did not even measure. Using the straw, make a hole at the top of each ornament so it can be hung with ribbon. Wait 24-48 hrs for them to harden.
Decorating:
Glitter paint in a variety of colors along with paint brushes
Old plate to put the paint on
Googly eyes, black beads, pearl beads, multi color beads
Craft glue
Paper towels
Cup with water to rinse brushes
Place an ornament on a paper towel and go to town! Set aside and wait 24-48 hours to dry.
Spray lacquer to set paint
Red and Green ribbon that is not too wide
Place ornaments on newspaper and take outside. Use lacquer according to directions on the bottle. Wait to dry and then thread with ribbon. To store, use tissue paper.
Have fun!
1 cup cinnamon
1/2 to 3/4 cup applesauce
1 tablespoon craft glue (that dries clear)
Christmas cookie cutters
1 drinking straw
Combine in bowl to make a dough. Depending on the doughs wetness or dryness you will need to add either more cinnamon or more applesauce. Dust table with cinnamon and roll out dough with rolling pin. Place cookie cutters on dough and press firmly. Roll out remaining dough and place cookie cutters on top. Repeat until dough is gone. We did this recipe three times to get a higher yield of ornaments. By the second time we did not even measure. Using the straw, make a hole at the top of each ornament so it can be hung with ribbon. Wait 24-48 hrs for them to harden.
Decorating:
Glitter paint in a variety of colors along with paint brushes
Old plate to put the paint on
Googly eyes, black beads, pearl beads, multi color beads
Craft glue
Paper towels
Cup with water to rinse brushes
Place an ornament on a paper towel and go to town! Set aside and wait 24-48 hours to dry.
Spray lacquer to set paint
Red and Green ribbon that is not too wide
Place ornaments on newspaper and take outside. Use lacquer according to directions on the bottle. Wait to dry and then thread with ribbon. To store, use tissue paper.
Have fun!
Sunday, September 26, 2010
Reupholstering a Kitchen Chair
Very easy and fun so do not be discouraged. You will need a chair pad you do not like, pretty fabric, an iron, staple gun with staples, screw driver (philips head most likely) or a drill to remove/replace screws.
First, iron the fabric that will go on the chair if it is wrinkled.
Remove screws from the bottom of the chair pad. Should be four screws.
Remove the chair pad. This was painted on. Seriously, why would someone do this?
Flip over the new fabric so you are looking at the backside. Flip over the chair pad on top of the fabric. To me, it is kind of like wrapping a present and smoothing everything out when you are folding in the ends. Do this around the chair pad and pull tight. Staple gun each piece you fold over the chair pad. You want to keep it tight so that when you sit on it, the fabric will not gather. When done, screw in nails.
And, voila!
First, iron the fabric that will go on the chair if it is wrinkled.
Remove screws from the bottom of the chair pad. Should be four screws.
Remove the chair pad. This was painted on. Seriously, why would someone do this?
Flip over the new fabric so you are looking at the backside. Flip over the chair pad on top of the fabric. To me, it is kind of like wrapping a present and smoothing everything out when you are folding in the ends. Do this around the chair pad and pull tight. Staple gun each piece you fold over the chair pad. You want to keep it tight so that when you sit on it, the fabric will not gather. When done, screw in nails.
And, voila!
Saturday, July 24, 2010
Good Finds
One of my favorite things to do is go to thrift/consignment stores in search of that one great item. Sometimes you find them, sometimes you don't but I love the quest. Lately, I have had a streak of good luck. My husband loves flannel and plaid shirts, but he prefers them not to look so lumberjack and sometimes that is all you find. I got a great navy, teal, and white flannel shirt at the Goodwill the other day. Today he was in search of camo shorts. We walked into Fantastic Thrift and to the mens pants/shorts section, found them in his size for $3 and rejoiced that we found them so fast. They were camo pants that I cut into shorts. He was so stoked. A week ago I was in search of two extra pub style chairs at a thrift store and lo and behold I found them. So exciting to find the stuff you are searching for and cheaper than retail. Sometimes it needs a tad TLC, but it is great when they don't! I need to change out the fabric on the seats, but once done I will post.
Thrift Stores:
Goodwill in Ashland passed VCC Mall
Goodwill on Broad Street
Fantastic Thrift on Main
Diversity Thrift near the Diamond
Books, Bikes, and Beyond on Brookland Park Blvd
Consignment Stores:
Class and Trash on Rt 1 in Ashland
Pass It On on Lakeside Ave
Consignment Connections on Lakeside Ave
Robins Nest on Lakeside Ave
Home Decor Boutiques:
Feathernesters on Lakeside Ave
Keep Good Company on Lakeside Ave
Embellish on Lakeside Ave
Shops at 1812 on Patterson
(All of these also sell local artists soap, linen water, jewelry, totes/bags etc..)
Thrift Stores:
Goodwill in Ashland passed VCC Mall
Goodwill on Broad Street
Fantastic Thrift on Main
Diversity Thrift near the Diamond
Books, Bikes, and Beyond on Brookland Park Blvd
Consignment Stores:
Class and Trash on Rt 1 in Ashland
Pass It On on Lakeside Ave
Consignment Connections on Lakeside Ave
Robins Nest on Lakeside Ave
Home Decor Boutiques:
Feathernesters on Lakeside Ave
Keep Good Company on Lakeside Ave
Embellish on Lakeside Ave
Shops at 1812 on Patterson
(All of these also sell local artists soap, linen water, jewelry, totes/bags etc..)
Sunday, July 18, 2010
That Creative Spark
I love weekends that inspire creativity. Whether it be cooking, home decor, crafting... etc, I love it when I get that urge to create. So I urge you to create something.. anything! Start small and then try to take on bigger projects. Take classes, seek out people, and read books that can teach you something new. This weekend has been full of consignment/thrift shopping, blueberry muffins, blueberry salsa, visiting with old friends, comforting family, and crab cakes.
Projects I am working on: finishing the (other) outdoor chair, constructing a pub table, oil cloth cushions, converting the wicker chest into an ottoman, reupholstering two pub chairs from a consignment, creating tiered platters, canning produce, and multiple new recipes.
Wednesday, June 23, 2010
feeling crafty
Lately I have been getting crafty and picking up some of my hobbies from the past. I wish I never stopped some of the things I use to be so involved in. No time like the present to begin anew. I temporarily "fixed" my sewing machine to then "break" it again. I need someone who actually knows what they are doing to help me troubleshoot a permanent solution. In the meantime, my homemade cover slips for the glider chair will have to wait, but the one pillow I made was a success. Onward to non-sewing conquests!

To make a record into a bowl you will need:
-One completely unfavorite/horrible record
- Wax paper
- Baking sheet
- Large glass bowl
- An oven heated to 200-250 degrees
- Oven gloves
Preheat the oven and line baking sheet with wax paper. Some fumes will emit from the oven so open some windows. Lay one record at a time on the wax paper and put in oven. It will only take about five minutes to become pliable. With oven gloves on, pick up record and stick inside bowl. This will form the bowl like shape. Hold in place until hard (less than a minute). If you are using 7 inch records you could use a smaller bowl to create the shape. Most of the ones I made I gave away to friends.

Here is a pillow I made out of extra fabric. I buy fabric and then it sits around. This does not really fit in to my decor so I am giving it to my friend, Beth.
Measure out fabric to have two equal pieces. Lay the printed side on top of the other printed side so they are facing each other. Pin together. Pillow will be sewn inside out. Sew around all edges and leave a small open to stuff with polyfill. Through small opening turn pillow right side out, stuff, then sew closed. Also can buy plain pillows from craft store and create a cover or recover old ones.
My husband says I am pretty crafty broad. Although my frustration can get the better of me.
Other reclaiming of past hobbies: playing the piano, crocheting/knitting. Onward!
To make a record into a bowl you will need:
-One completely unfavorite/horrible record
- Wax paper
- Baking sheet
- Large glass bowl
- An oven heated to 200-250 degrees
- Oven gloves
Preheat the oven and line baking sheet with wax paper. Some fumes will emit from the oven so open some windows. Lay one record at a time on the wax paper and put in oven. It will only take about five minutes to become pliable. With oven gloves on, pick up record and stick inside bowl. This will form the bowl like shape. Hold in place until hard (less than a minute). If you are using 7 inch records you could use a smaller bowl to create the shape. Most of the ones I made I gave away to friends.
Here is a pillow I made out of extra fabric. I buy fabric and then it sits around. This does not really fit in to my decor so I am giving it to my friend, Beth.
Measure out fabric to have two equal pieces. Lay the printed side on top of the other printed side so they are facing each other. Pin together. Pillow will be sewn inside out. Sew around all edges and leave a small open to stuff with polyfill. Through small opening turn pillow right side out, stuff, then sew closed. Also can buy plain pillows from craft store and create a cover or recover old ones.
My husband says I am pretty crafty broad. Although my frustration can get the better of me.
Other reclaiming of past hobbies: playing the piano, crocheting/knitting. Onward!
Subscribe to:
Posts (Atom)